
I took a picture for each step (sometimes more than one picture, and at different angles) in hopes that you will be able to figure it out.
Warning!! This will be the worlds longest post.
Real quick note. Whenever you make a fold, make it as crisp as possible.
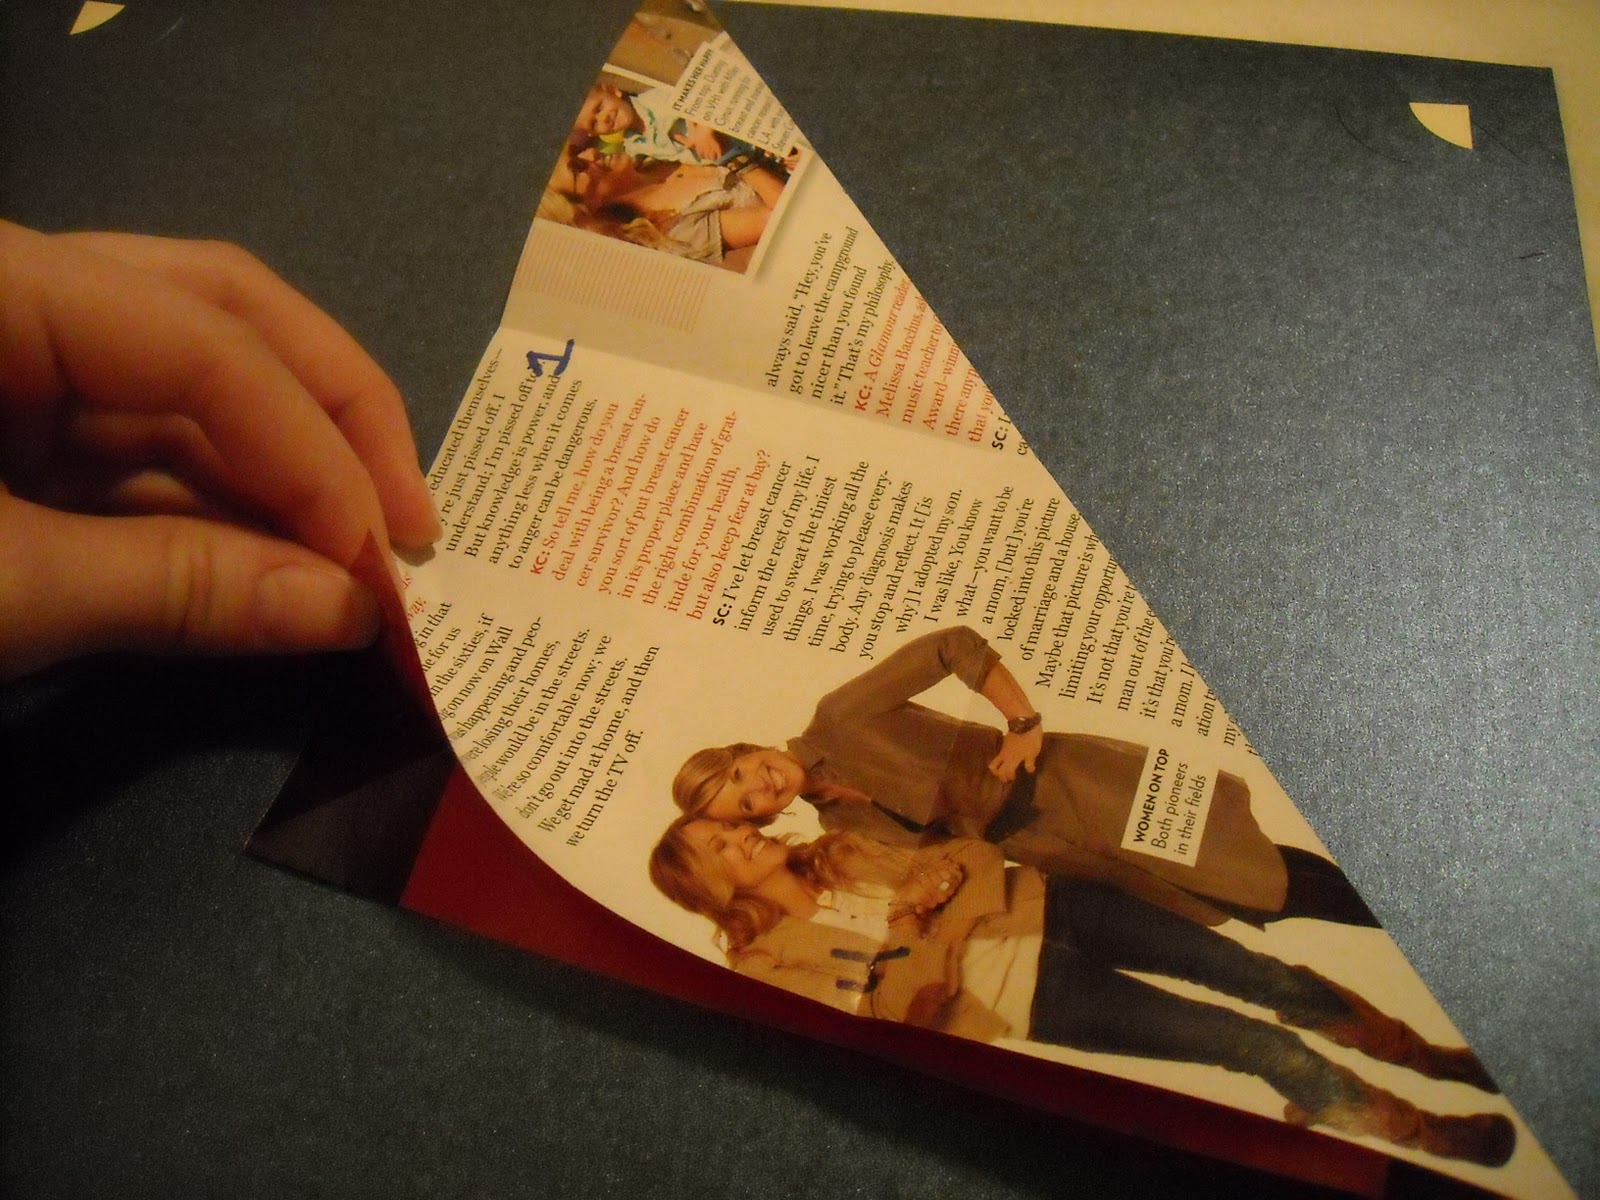
First step; chose your paper.
I like to use bright magazine pages because it looks way cool when it is finished, and it is a good way to recycle magazines.

1. Make your page into a square by folding the corner to look like the next picture..


3. I labeled the opposite side of the page to make this easier for you.
4. You then fold corner to corner, then unfold, then fold the opposite corner to corner. Notice the letters in the corner. Then open it to a flat square again.


5. Then you fold the page from side to side, unfold, and fold the other side to side.
Again note the letters in the corner. A to B, then unfold and bring A to D and unfold.


Don't forget to make these fold crisp, These are your base folds.
6. Then flip the page over and make all the folds the other way.


Stop and make sure all your folds are really crisp and good going back in forth each any every way.
Then it gets tricky
7. Bring corner A in to meet corner B. Corner A should bend at the crease and fit perfectly on the seam line of corner B.


It will look like this once you smooth it all down.


stick your finger in the pocket on the side. See the crease right over my pointer finger in the pic below? that crease is going to meet the far left side of your star. Watch...


Then I rememebered I have a flash on my camera. haha
This is the view from the bottom.


8. Fold down the top, at the top of the flaps.


Then unfold the top so it is all flat again.
9. Unfold those flaps you made in the last 2 steps.


Then smooth 'er down.

Flip it over and repeat.


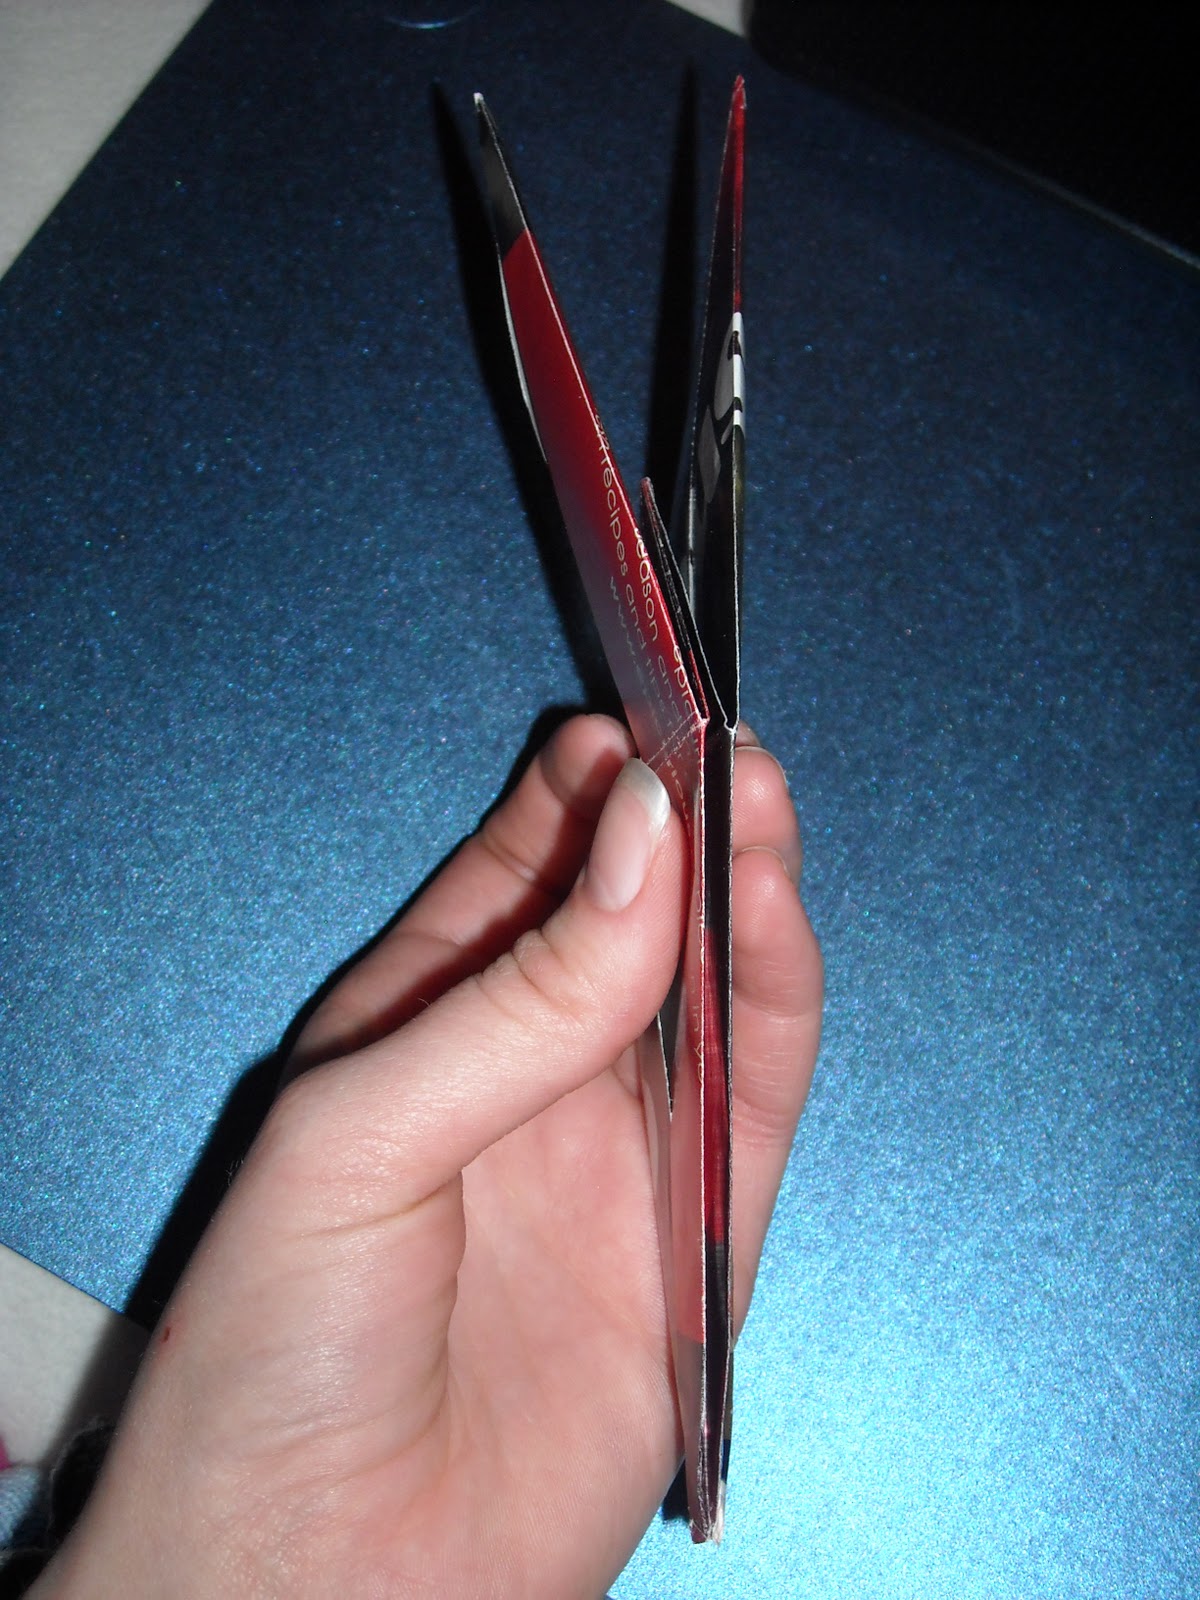
This is a side view


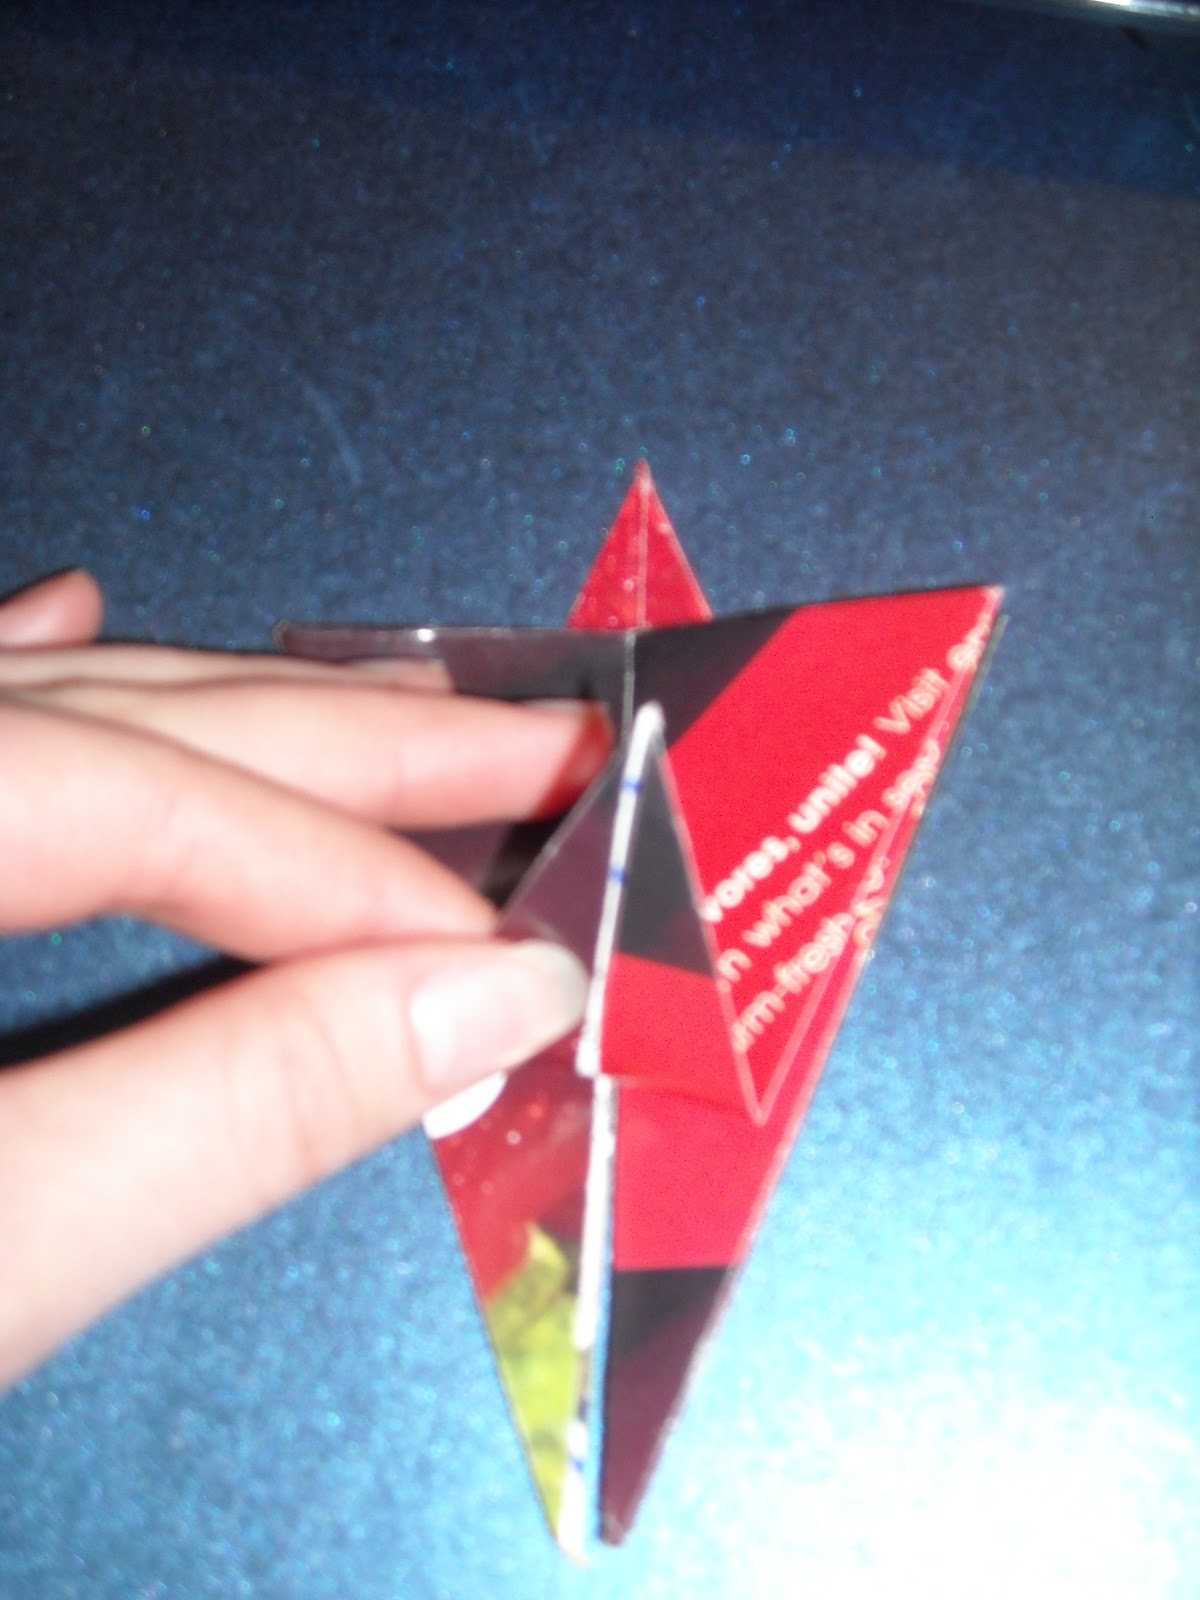
11. This next step is the hardest one . You know the tip? Well it needs to be inverted.

This is where all those crisp folds get to prove themselves. I usually real quick fold all the creases one more time in every direction.
After going over all the creases, I open up the top, so it looks like this.

Ill make the next part simple. This is the easiest way to invert it.From the above shape.

Then push in the middle of the opposite side.


We are making great progress. Go take a real quick break, and then come back.
12. We get to fold up the star's points now.
Grab the top flap on the bottom. Pull it up until it catches, if it doesn't catch, then flip it over and start on the other side.

Then press it down and crease it.

This a top view, see how my finger is opening the left side? DO the same on the right.


We are ALMOST DONE!
13. fold the remaining points into existence.
Let me explain haha
Grab the first flap in the bottom corner, it doesn't matter which side. You are going to bring the corner to the middle crease and flatten it down.


Then remember how you opened up the sides like a billion times already??? Well you get to do it again.
Then fold those corners up to.

hold on...... take another quick break, then go to part 2!
No comments:
Post a Comment